Film photography is a beautiful, timeless medium that has captured memories for over a century. Whether you’re a seasoned professional or a complete beginner, there’s something special about the process of capturing light on film and being in full control of the images you capture. In this blog post, we’ll cover everything you need to know to get started with film photography and tips and tricks for success.
The Magic of Film
I remember taking a roll of film, driving to the photo mat in the middle of the supermarket parking lot, dropping it off, and coming back several days later, bursting with excitement to flip through the memories frantically. It’s a lost art, and it’s become obsolete to the masses, but just like vinyl records have made a comeback due to the warm sound and the experience of genuinely listening, film is following in its footsteps.
If you want to be a great photographer, you not only need to understand the basics of photography but also how and where it all started. Before we were snapping a trillion photos a day on our smartphones and plastering them all across social media without any limitations, there was a time when photography was sacred. When each shot mattered, the mystery of not knowing exactly how your photos looked was part of the surprise and delight of actually holding a physical print in your hand.
Get a Camera That Suits Not Only Your Needs but Also Your Personality
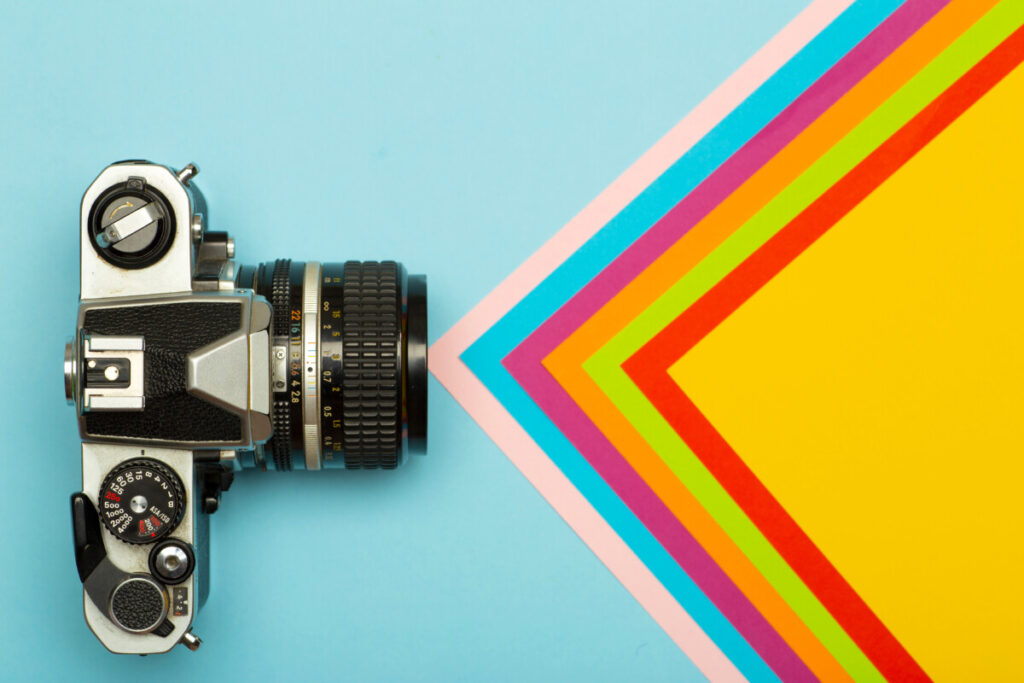
First and foremost, you’ll need a film camera. There are many options available, from vintage rangefinders to modern SLRs. It’s essential to consider the type of photography you want to do before making a decision. For example, a compact rangefinder camera may be the best option if you’re interested in street photography. If you’re more into landscape photography, a medium-format camera may be a better choice. An excellent place to start when choosing a camera is to think about the type of photography you’re interested in and then research the cameras that are best suited for that type of photography.
I have over fifty cameras in my collection, and I’ve tried several hundred over the years. Whether you decide to start with a new film camera or a vintage, you can find excellent choices for pretty much any budget. I’d recommend starting with a budget of one hundred pounds for a body and another fifty or so for a couple of lenses. If you are in London, there’s an amazing shop called Mr Cads near Victoria Station, which is pretty much the coolest vintage camera store I’ve ever been to in my life; I highly recommend or just dive in on eBay and be sure to read the detailed descriptions and check buyer ratings and feedback. I’ve bought a ton of stuff over the years from both and never had any major issues.
My recommendations:
If you don’t the time or patience for research and just want to get started straight away, here’s what I recommend:
Cameras:
35mm film cameras – Nikon F (the best film camera I’ve ever owned), Nikon FM2 (fantastic starter semi-pro camera), Nikon F100 (90’s pro camera with autofocus!)
Medium format camera – Bronica SQ (Half the price of a Hasselblad), Fuji GS645 (fantastic for portability)
Just for fun: Lomo LC-A (Get an original on eBay for super cheap), Kodak half frame (you get twice the exposures for the money)
Lenses:
Here’s the good news. There is a vast selection of excellent vintage lenses available at affordable prices. It’s recommended to begin with prime lenses, which are essential for photography. For wide shots, a 28mm lens is suitable, while a 35mm or 50mm lens is excellent for everyday use. For portraits, an 85mm or 105mm lens would be ideal. Lenses produced during the 1970s are durable and often have unique characteristics that give photos a vintage look with higher contrast and muted colours, creating a cool aesthetic.
If your film camera has autofocus capabilities, lenses from the 1980s and 1990s are perfect options. They are also reasonably priced, and the autofocus feature is beneficial when starting out. However, if you choose to use manual focus lenses, it can improve your overall photography skills.
It’s Film, Not a Miracle Worker
Once you have a camera and a lens or two, it’s time to consider the type of film you want to use. With a variety of options available, each with its unique characteristics, it’s important to choose the film that best suits your photography goals. For instance, color negative film is excellent for general use, while black and white film is perfect for capturing moody and atmospheric photos. Additionally, there are films that are specifically designed for certain lighting conditions, such as low-light or bright sunlight. Experimenting with different types of film can help you find the one that best suits your preferences and the type of photos you want to take.
When shooting with film, it’s crucial to remember that every shot counts since film is a finite resource. Unlike digital photography, where you can take hundreds of photos and delete the ones you don’t like, you need to be more mindful of your composition and exposure when shooting with film. Take the time to think about the scene in front of you and ensure that you’re capturing the best possible image. Some photographers recommend taking a few extra minutes to consider the composition of the shot and carefully frame the scene before taking the photo. This approach can help you be more mindful of your composition and make the most of each shot.
It’s also essential to understand the limitations of film when shooting with it. Film cameras have a limited number of frames and ISO range, unlike digital cameras. For example, some films can only be shot at ISO 100-400, while others can be shot at ISO 800-1600. Knowing the limitations of the film you’re using and working within those parameters is essential to get the best results.
Film photography requires more planning and preparation than digital photography. For instance, you need to plan ahead and make sure you have enough film to last through a photo shoot. This means being mindful of the number of frames you have left on your roll of film and ensuring you don’t run out of film in the middle of a shoot.
What film to choose
It’s essential to understand the different types of film available and to experiment with different techniques and styles. If you are just getting started with film, my recommendation is to start with Fomopan film. It’s cheap, readily available, and very forgiving in post-processing and development. Once you start to get the hang of it, there are literally hundreds and hundreds of different types of film that you can experiment with. I tend to use Kodak T-max 400 (pushing to 800 or 1600 in post), especially when shooting live music. If I really need to push the limits I’ll switch to Ilform 3200 and go black and white. That’s pretty much the extreme for concert photography needs. I’ve found that Analogue Wonderland is one of the best places to find a wide selection of all types of film, so check them out for sure. Their development pricing is pretty decent as well if you need help with developing your film.
Developing Your Film, Don’t Sit on It
Developing your own film can seem intimidating at first, but with practice, it becomes easier and even enjoyable. When shooting with film, it’s critical to understand the development process. Unlike digital photography, where you can see your photos immediately, film must be developed before you can see the final image. This can add an element of surprise and excitement to the process, as you never know exactly what you’re going to get.
There are two main options for developing film: developing it yourself at home or sending it off to a lab for professional processing. While developing your film yourself can be rewarding, it does require some equipment and knowledge. If you’re new to film photography, it may be a good idea to start by sending your film to a lab for processing. This gives you a chance to learn more about the process and see the final results before diving into developing your film.
However, if you decide to develop your own film, it’s essential to understand the process, including the different chemicals used and the timing and temperature requirements. Many online tutorials, classes, and workshops can help you learn the basics of film developing. Additionally, investing in quality equipment for developing film, such as a film reel and developing tanks, is essential. I use a Paterson System 4 tank which you can get here, along with a darkroom bag to swap the film out of the canister and get it into the tank for processing. After you get your tank and darkroom bag, now it’s time to stock up on the necessary chemicals. This post from Ilford has everything you need to know. Once you get through that one then move on to the Beginners Guide to Processing Film which is my go-to. You’ll likely need to find the processing times on the box that the film came in and then do the calculations yourself based on the temperature of the water. Just note that timing and temperature matter so be as precise as you can.
Film is a perishable medium, and taking precautions to ensure its longevity is crucial. This means storing your film in a cool, dry place and avoiding extreme temperatures and humidity. Keeping your film away from light is also important since light can cause the film to deteriorate over time. When loading and unloading film, it’s crucial to be careful and avoid unnecessary exposure to light. Always load and unload your film in a dark room or with the use of a film changing bag. Additionally, taking note of the expiration date of your film and using it before it expires is essential since using expired film can result in poor image quality and inconsistent results.
Document everything
When it comes to shooting and developing film, it’s important to keep accurate records. This means noting the type of film and the camera settings used for each shot, as well as the date and location where the photo was taken. This information can be incredibly useful for troubleshooting any issues that may arise during the development process, and can also be used to track your progress as a film photographer.
Additionally, it’s essential to keep accurate records of your film and camera settings, as well as the date and location where the photo was taken. With these tips and tricks, you’ll be on your way to capturing stunning images on film in no time.
Another important aspect of film photography is the importance of understanding the different types of film available. Film comes in different formats, such as 35mm, 120mm, and 4×5 inches. Each format has its own unique characteristics, and it’s essential to understand the differences between them. For example, 35mm film is the most common format and is great for general use, while 120mm film is a medium format film that produces larger negatives and is ideal for landscape photography. 4×5 inches film is a large format film that produces even larger negatives and is perfect for fine art photography.
Printing Your Photos, Get That Sh*t up on Your Walls!
The printmaking process is a crucial aspect of film photography that sets it apart from digital photography. With film photography, you get physical prints that you can hold and display. There are several printing methods available, including traditional darkroom printing or digital printing. Experimenting with different printing methods can help you find the ones you prefer and what type of photos they are best suited for.
Patience is essential when shooting with film. Unlike digital photography, film photography requires more time and effort, but the results can be rewarding. Take your time, and don’t be afraid to experiment with different types of film and camera settings. Remember that the journey of capturing memories on film is more important than getting the perfect shot every time.
This Ain’t a Cheap Hobby
Before you dive in too far, it’s important to consider the cost when getting started with film photography because it ain’t cheap. Unlike digital photography, where you can take as many photos as you want without incurring additional costs, film photography has a cost associated with each frame. This means that it’s essential to be mindful of your shooting habits and to make the most of each frame.
In addition to the cost of the film, it’s also important to consider the cost of developing the film. There are two main options for developing film: you can either develop the film yourself at home or send it off to a lab for professional processing. Developing film yourself can be a fun and rewarding experience, but it does require a certain level of knowledge and equipment. On the other hand, sending your film to a lab for professional processing can be more expensive, but it’s a good option for beginners who want to learn more about the process and to see the final results before diving into developing their own film.
Finally, it’s important to remember that film photography is a personal and creative endeavour. It’s important to experiment with different techniques and styles and to develop your own personal style. With the right equipment, film, and a bit of patience and practice, you’ll be on your way to capturing stunning images on film in no time.
Here are a few additional tips and tricks for success with film photography:
- Take the time to learn about the technical aspects of film photography, such as aperture, shutter speed, and ISO.
- Always carry a light meter with you. This will help you to get accurate exposure readings and can be especially useful in tricky lighting situations.
- Be mindful of the type of light you’re shooting in, and choose your film and camera settings accordingly.
- Take care of your film and camera. This means keeping them clean and protected from the elements, and storing them properly when not in use.
- Experiment with different types of film and camera settings, and don’t be afraid to try new things.
- Learn how to develop film at home. This will give you more control over the final results and can be a fun and rewarding experience.
- Keep accurate records of your film and camera settings, as well as the date and location where the photo was taken.
Film Isn’t For Everyone; It’s for the Bold, the Creatives, the Experimenters
Film photography requires a level of creativity and experimentation. You can try different lighting setups, compositions, and film stocks to see what works best. You can also develop your own personal style by experimenting with different techniques, such as cross-processing or double exposure.